
# Software
# AmberTools 24 and 25 (Conda-based installation)
The AmberTools 24 and AmberTools 25 packages are installed via Conda environments, not as standard modules. This is because the module system cannot handle the source command required to activate Conda environments.
# AmberTools 24 – Activation
To activate AmberTools 24, use the following commands:
source /opt/exp_soft/rocky_9/amber/24/conda/etc/profile.d/conda.sh
conda activate AmberTools24
source $CONDA_PREFIX/amber.sh
# AmberTools 25 – Activation
To activate AmberTools 25, use the following:
source /opt/exp_soft/rocky_9/amber/25/conda/etc/profile.d/conda.sh
conda activate AmberTools25
source $CONDA_PREFIX/amber.sh
Notes
- Make sure no other Conda environment is active before running these commands.
- Each AmberTools version has a separate environment; activate only the one you need.
- You can create a helper script (e.g.
run_ambertools24.sh) to simplify repeated use.
# Helper Script Example
You can create a helper script to simplify activation:
For AmberTools 24:
#!/bin/bash
# run_ambertools24.sh
source /opt/exp_soft/rocky_9/amber/24/conda/etc/profile.d/conda.sh
conda activate AmberTools24
source $CONDA_PREFIX/amber.sh
echo "AmberTools 24 activated successfully!"
For AmberTools 25:
#!/bin/bash
# run_ambertools25.sh
source /opt/exp_soft/rocky_9/amber/25/conda/etc/profile.d/conda.sh
conda activate AmberTools25
source $CONDA_PREFIX/amber.sh
echo "AmberTools 25 activated successfully!"
Make the scripts executable:
chmod +x run_ambertools24.sh
chmod +x run_ambertools25.sh
Important
Ensure that no other Conda environment is active before switching between AmberTools versions to avoid conflicts.
# Ollama
# Go to https://qcg.pcss.plcloud.pl
# First launch of Ollama
Click "Submit Task"

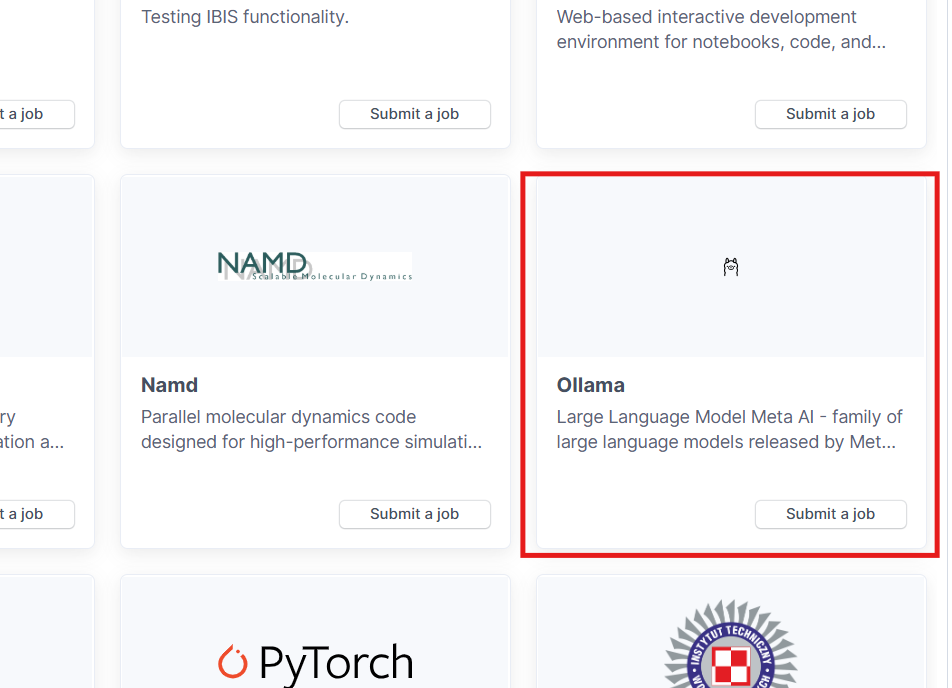
Find the Ollama template
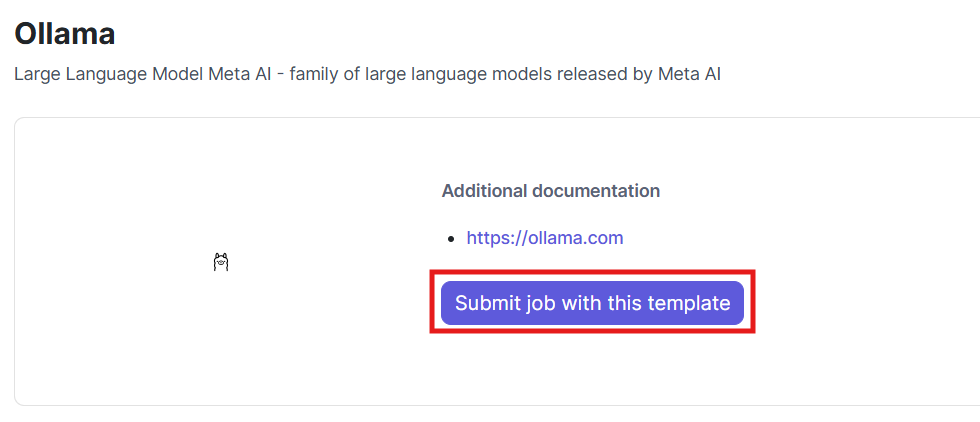
Submit using the template
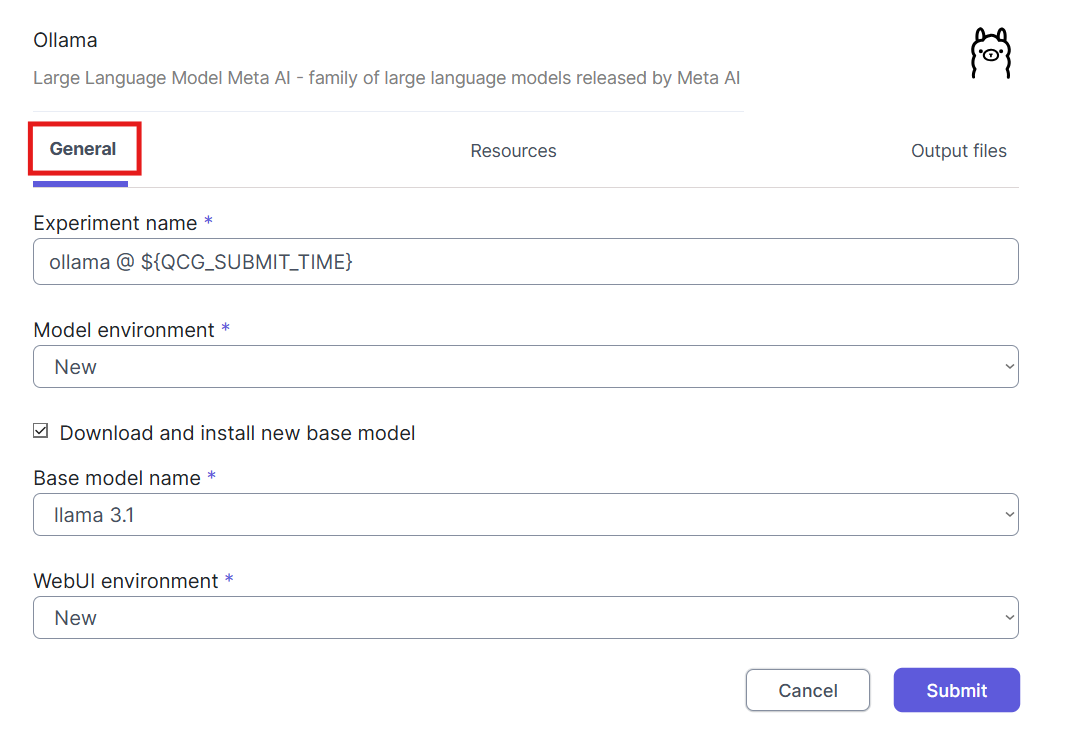
Set the appropriate General options (you can leave them by default)
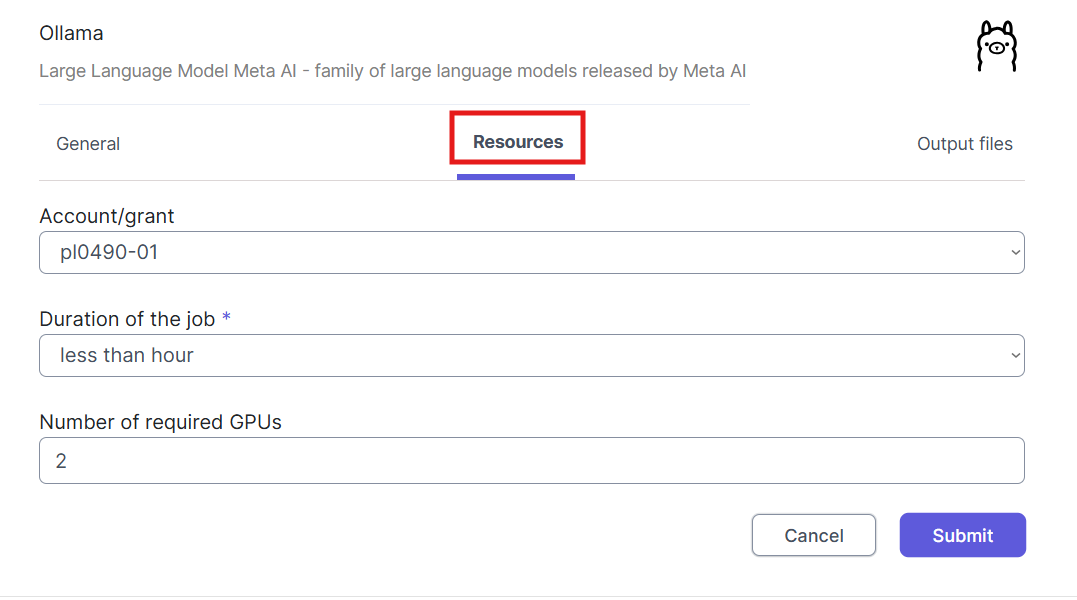
Set the resource options as needed
When all options are set, click "Submit"
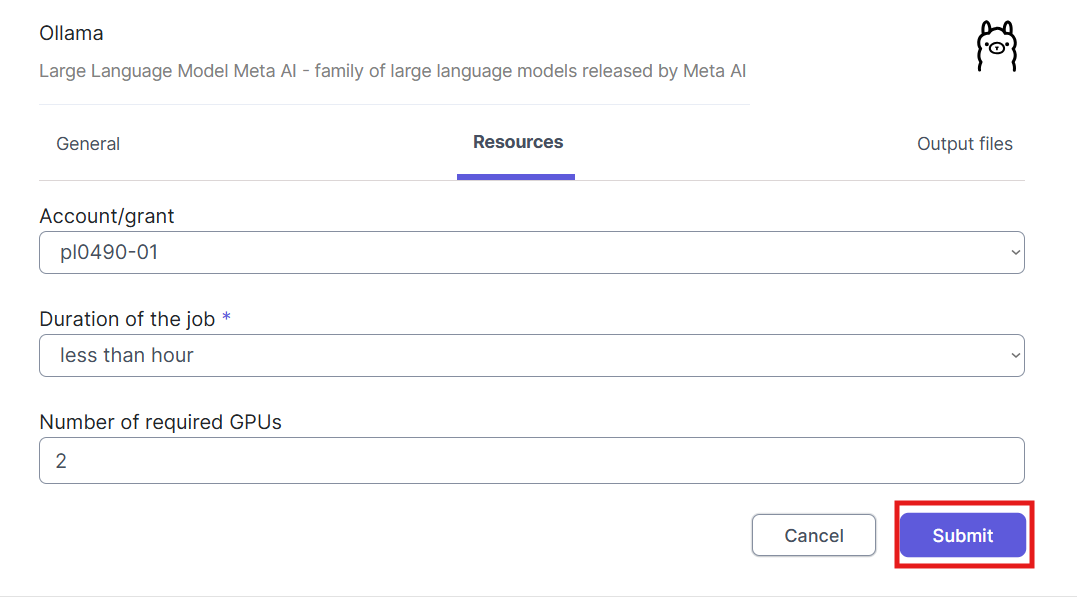
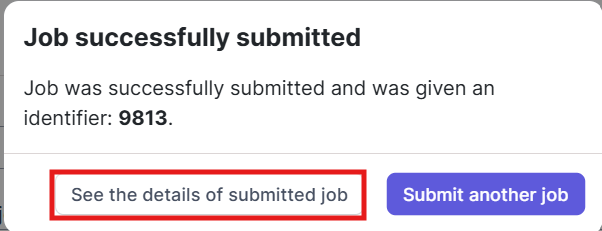
When the environment is ready, go to the Overview tab and click VNC
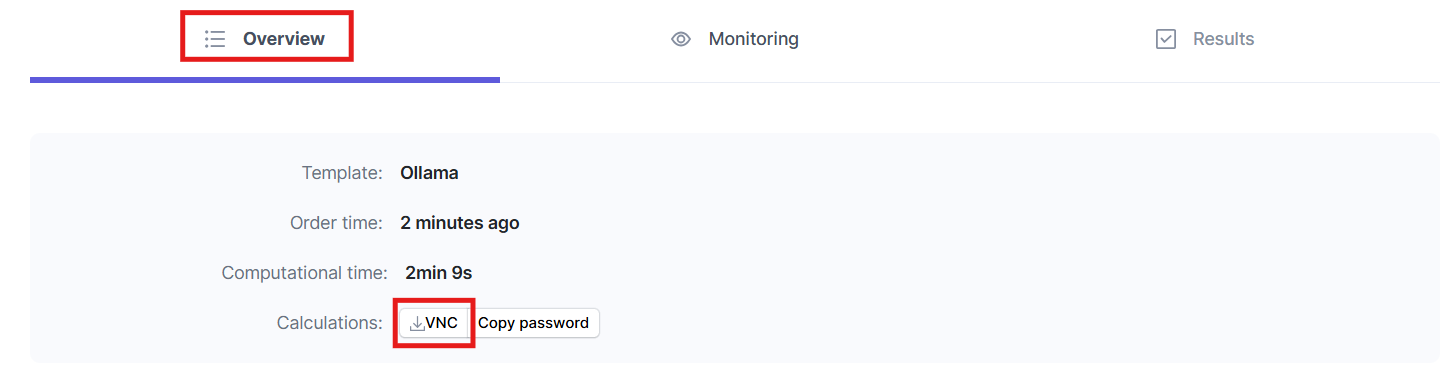
You will be redirected to the OpenWebui interface, where you need to create an account

Use it
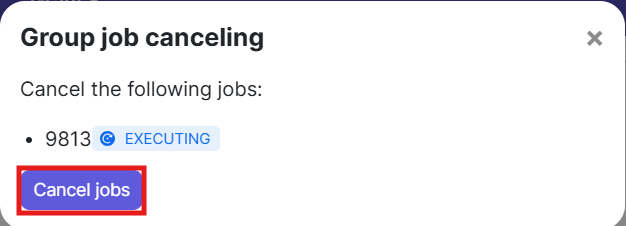
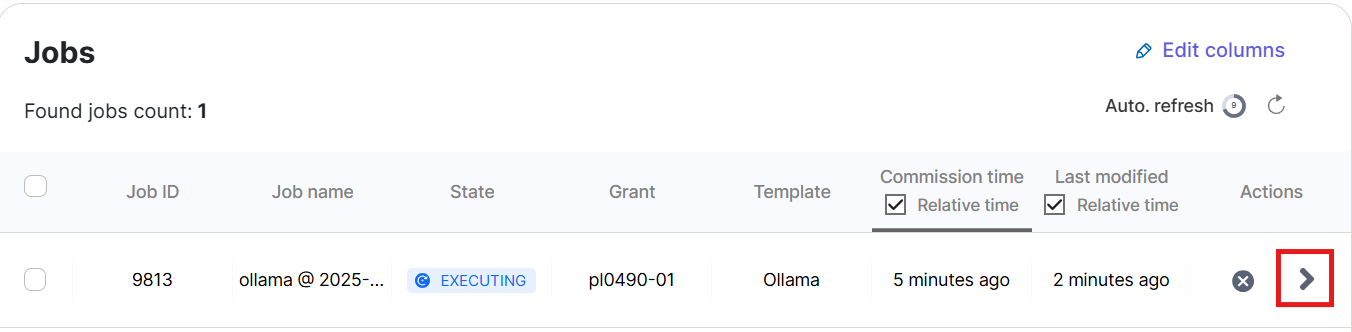
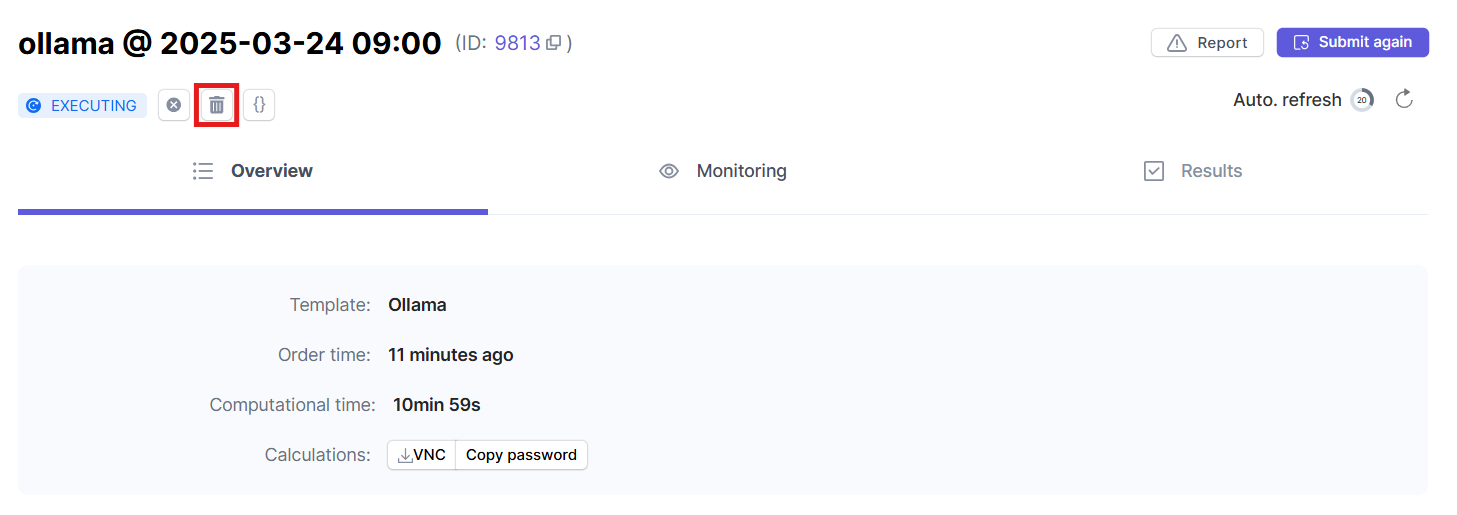
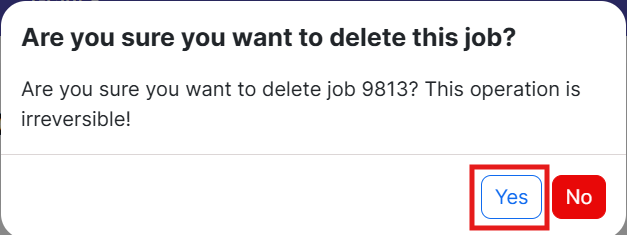
# Deleting a task

For the appropriate task, click Cancel Task
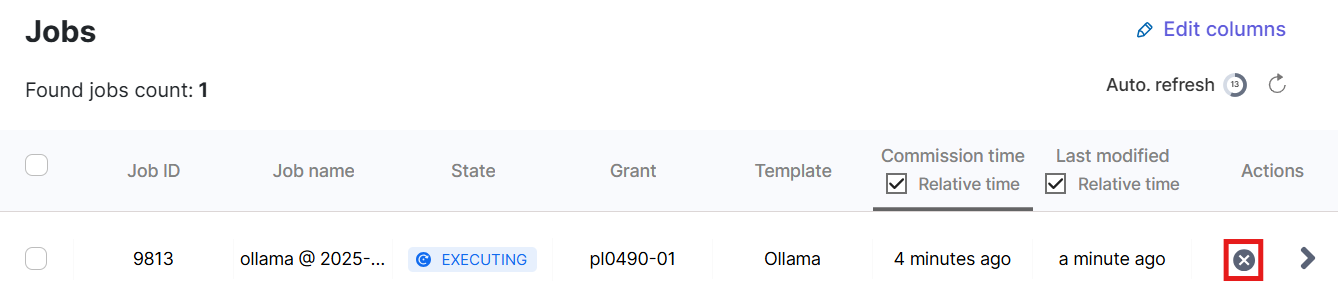
Delete it
# Using an Environment from a Pre-Existing Job
Click "Submit Task"
Find the Ollama template
Submit using the template
Set the appropriate General options
Change the Model Environment to Use Existing
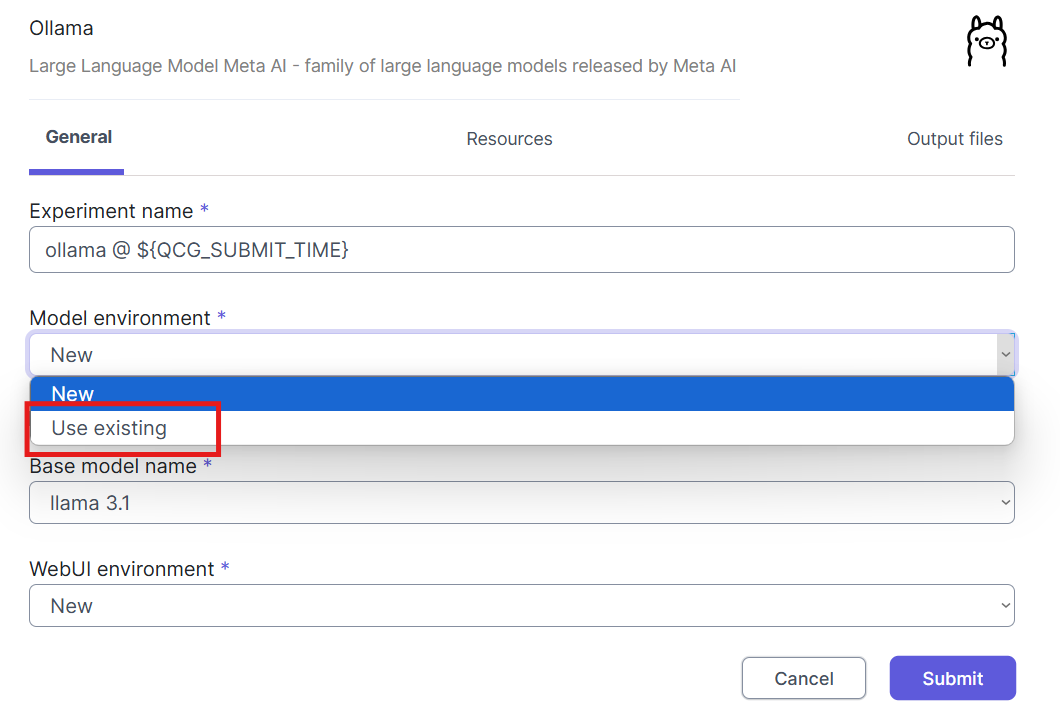
Go to home@altair
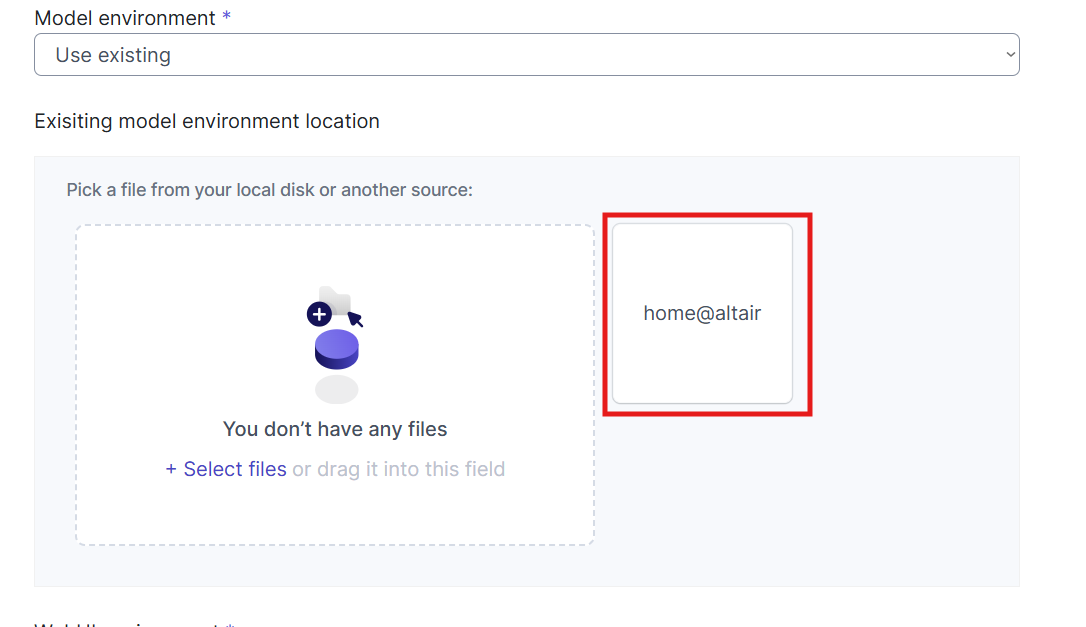
Find a similar path to the model environment and confirm



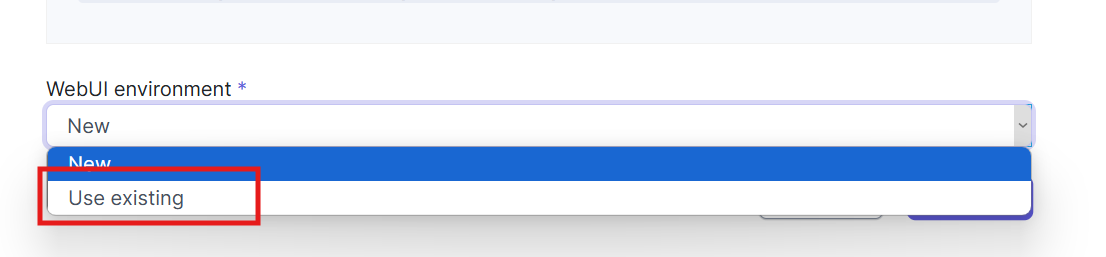
In the Webui environment similarly select use existing
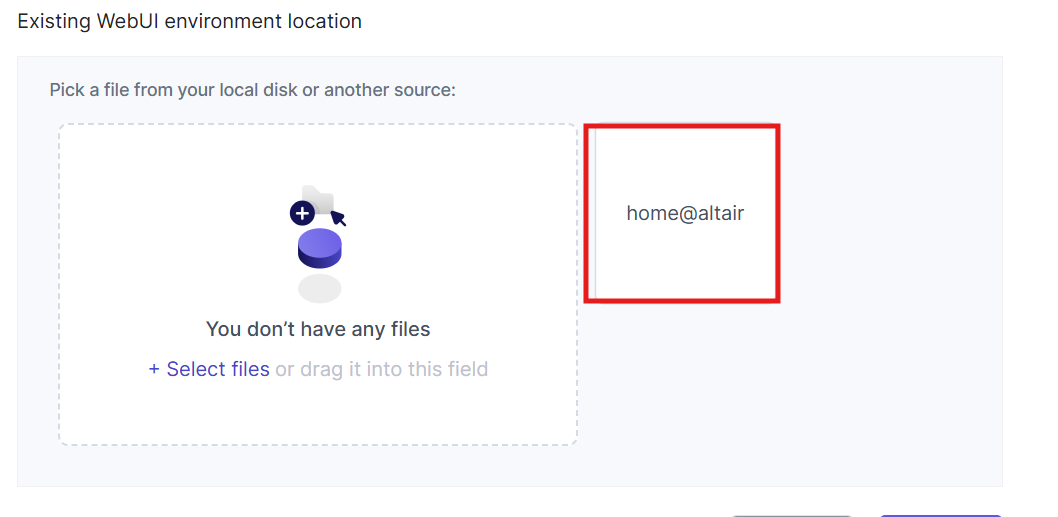



Set the resource options as needed
When all options are set, click "Submit"
When the environment is ready, go to the Overview tab and click VNC
You will be redirected to the OpenWebui interface, where you need to create an account
Use it
# Searching the web with OpenWebui
Go to admin panel

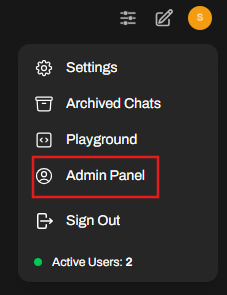
Go to settings

Go to web search
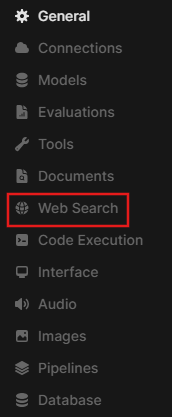
Make sure web search is allowed

Expand the list of search engines

And choose the right one for you
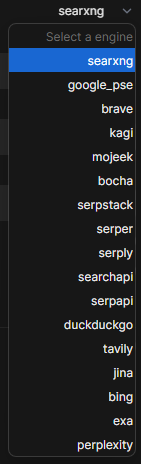
Configure based on the appropriate tutorial
https://docs.openwebui.com/category/-web-search/
Configure the rest of the parameters (you can leave it default)
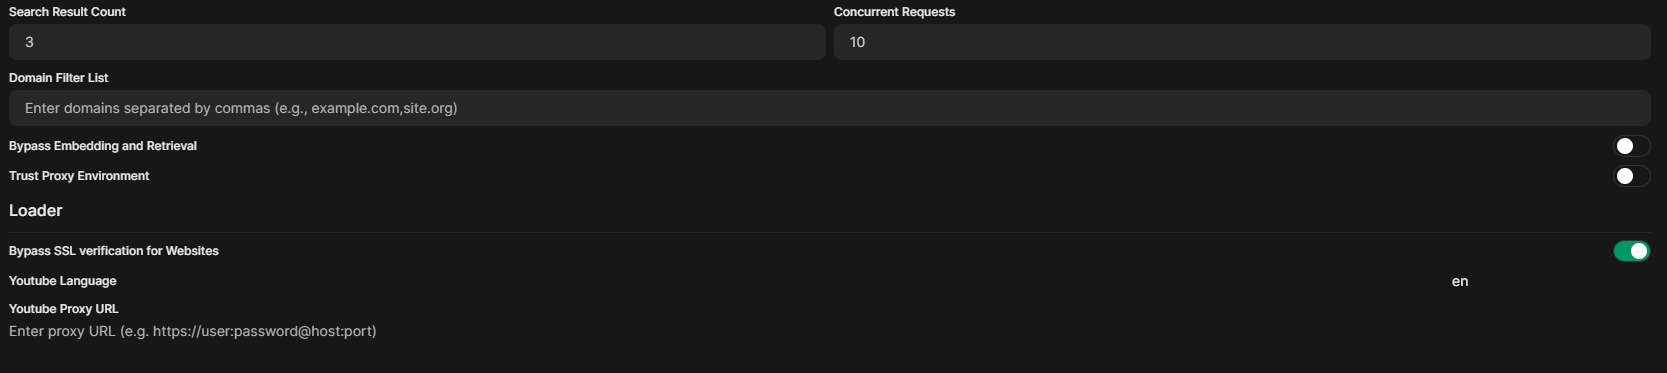
Go to chat

Indicate that you want to search the internet
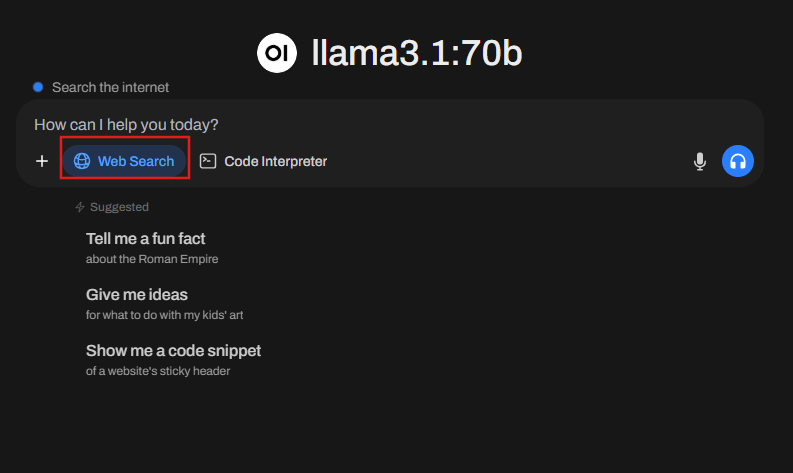
Type a query.
# Ollama command line
Symbolic linking of 2 directories: ~/.singularity and ~/.ollama
ln -s <grant_id>/project_data/ollama/ ~/.ollama
ln -s <grant_id>/project_data/singularity/ ~/.singularity
Log in to a GPU node and select the number of available GPUs
srun --mem 100G --gpus-per-node 4 -p proxima --pty bash
Create a definition file ollama.def
Bootstrap: docker
From: ollama/ollama

%startscript
   ollama serve
Build the image
sudo singularity build ollama.sif ollama.def
Run the container
# ollama runs on port 11434
singularity instance start --nv --bind /mnt/:/mnt/ ollama.sif ollama
Enter the container
singularity shell instance://ollama
Test the selected model
ollama run deepseek-r1:7b