# ANSYS via QCG Portal
Before you begin, make sure to log in to https://qcg.pcss.plcloud.pl/ (opens new window) using your portal user credentials.
Follow the step-by-step instructions below to start your ANSYS session:
# Select the Template
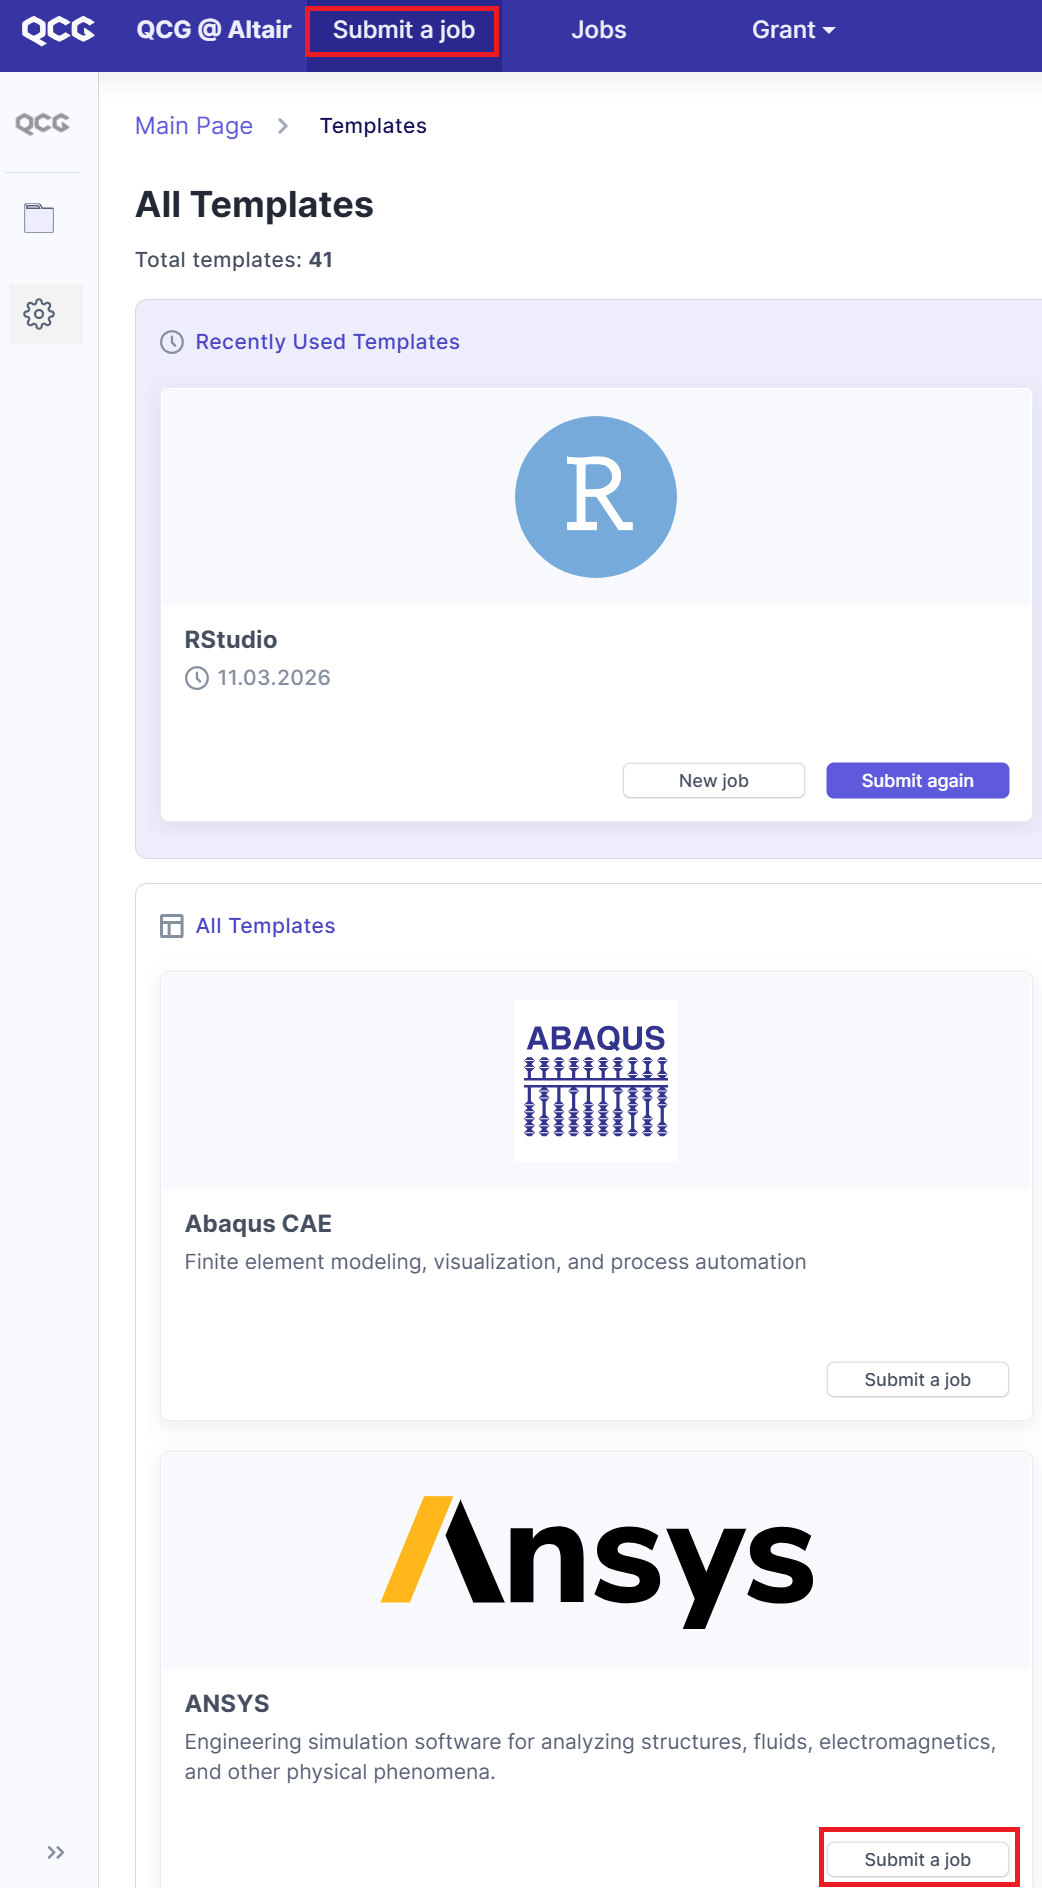
- From the top menu, click on Submit a job or navigate to the All Templates section.
- Locate the ANSYS tile and click the Submit a job button inside it.
# General Configuration
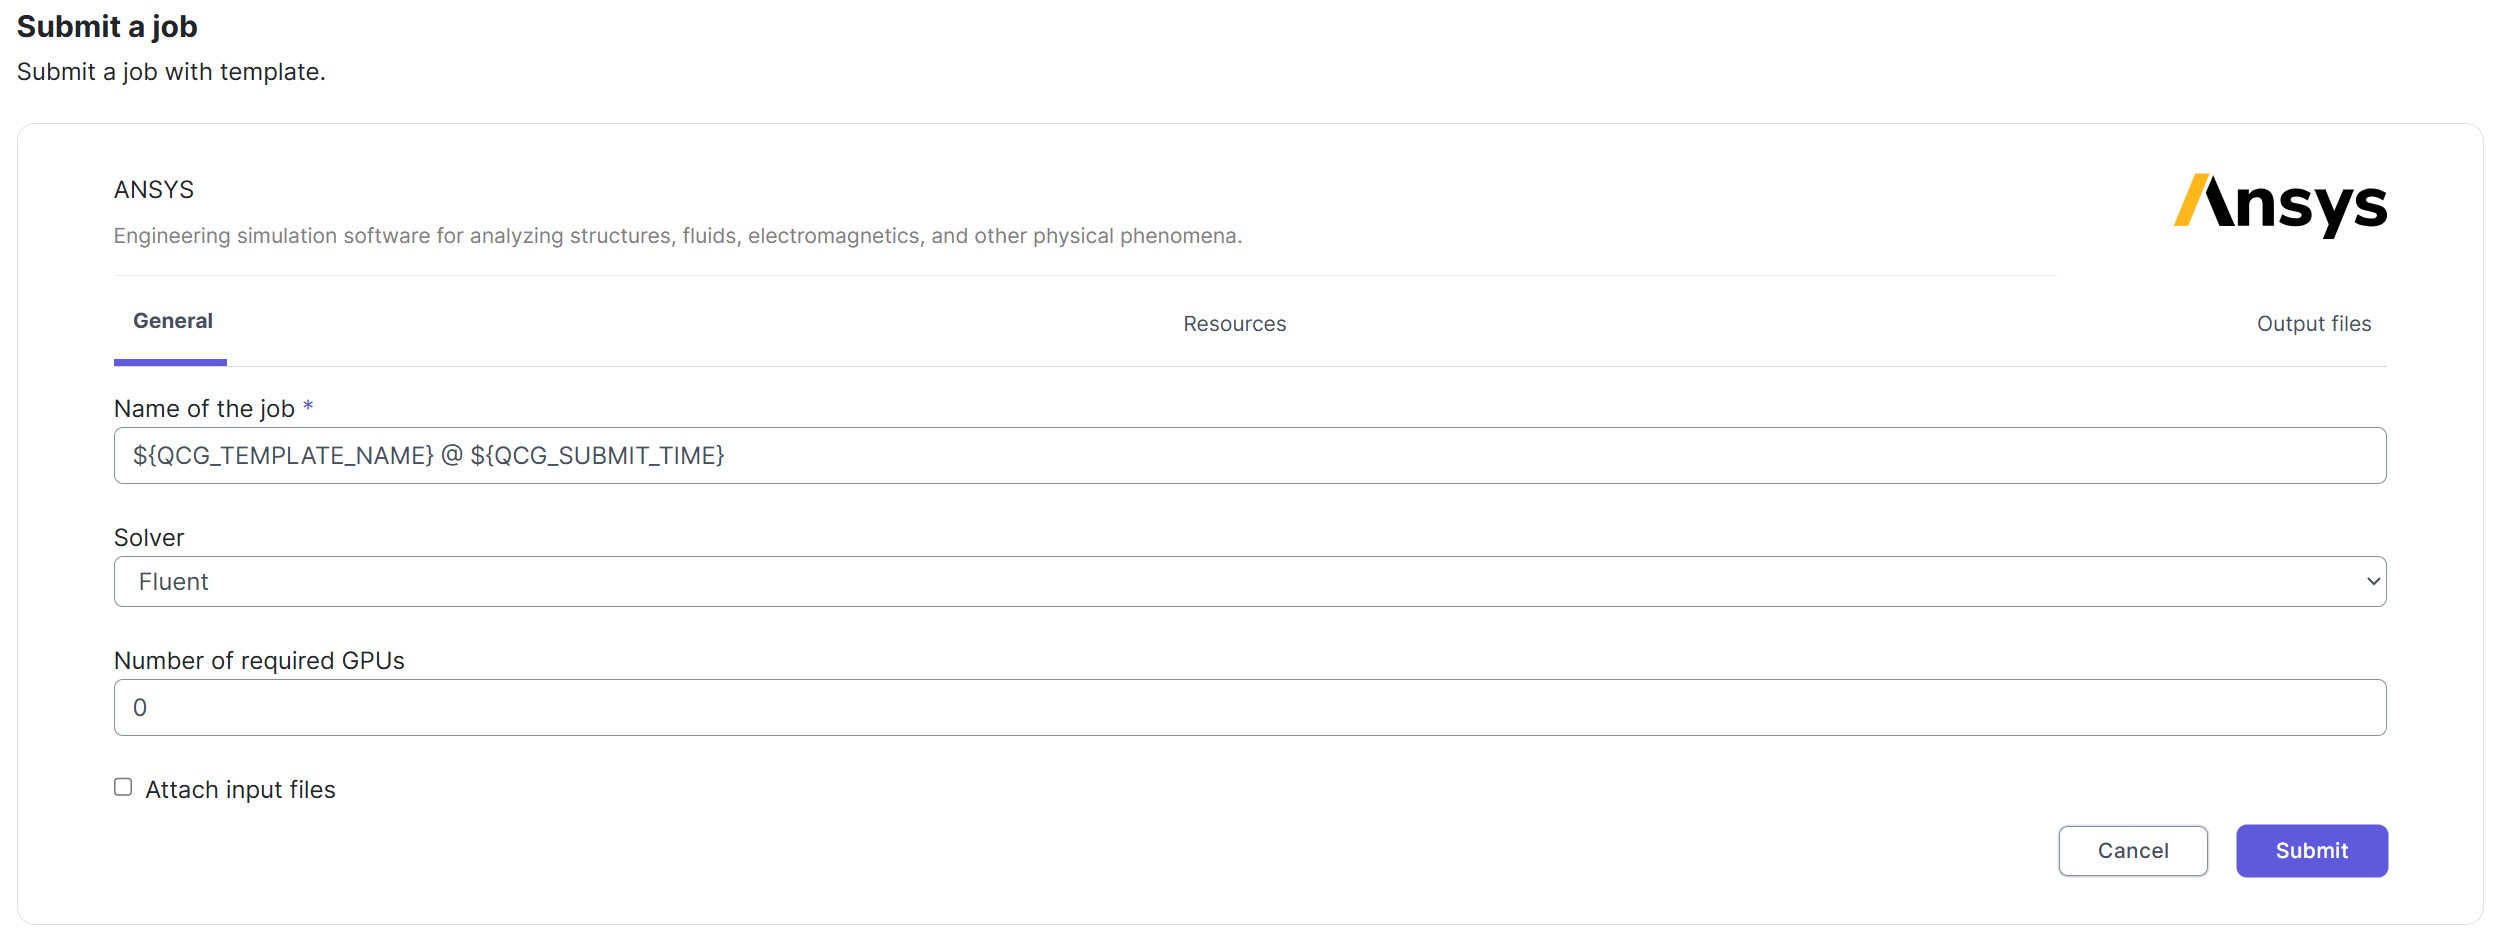
- In the Name of the job field, you can leave the default dynamic name variable or enter a custom name for your project.
- In the Solver dropdown, select your target environment (e.g., Fluent).
- Specify the Number of required GPUs (defaults to
0).
# Resource Allocation
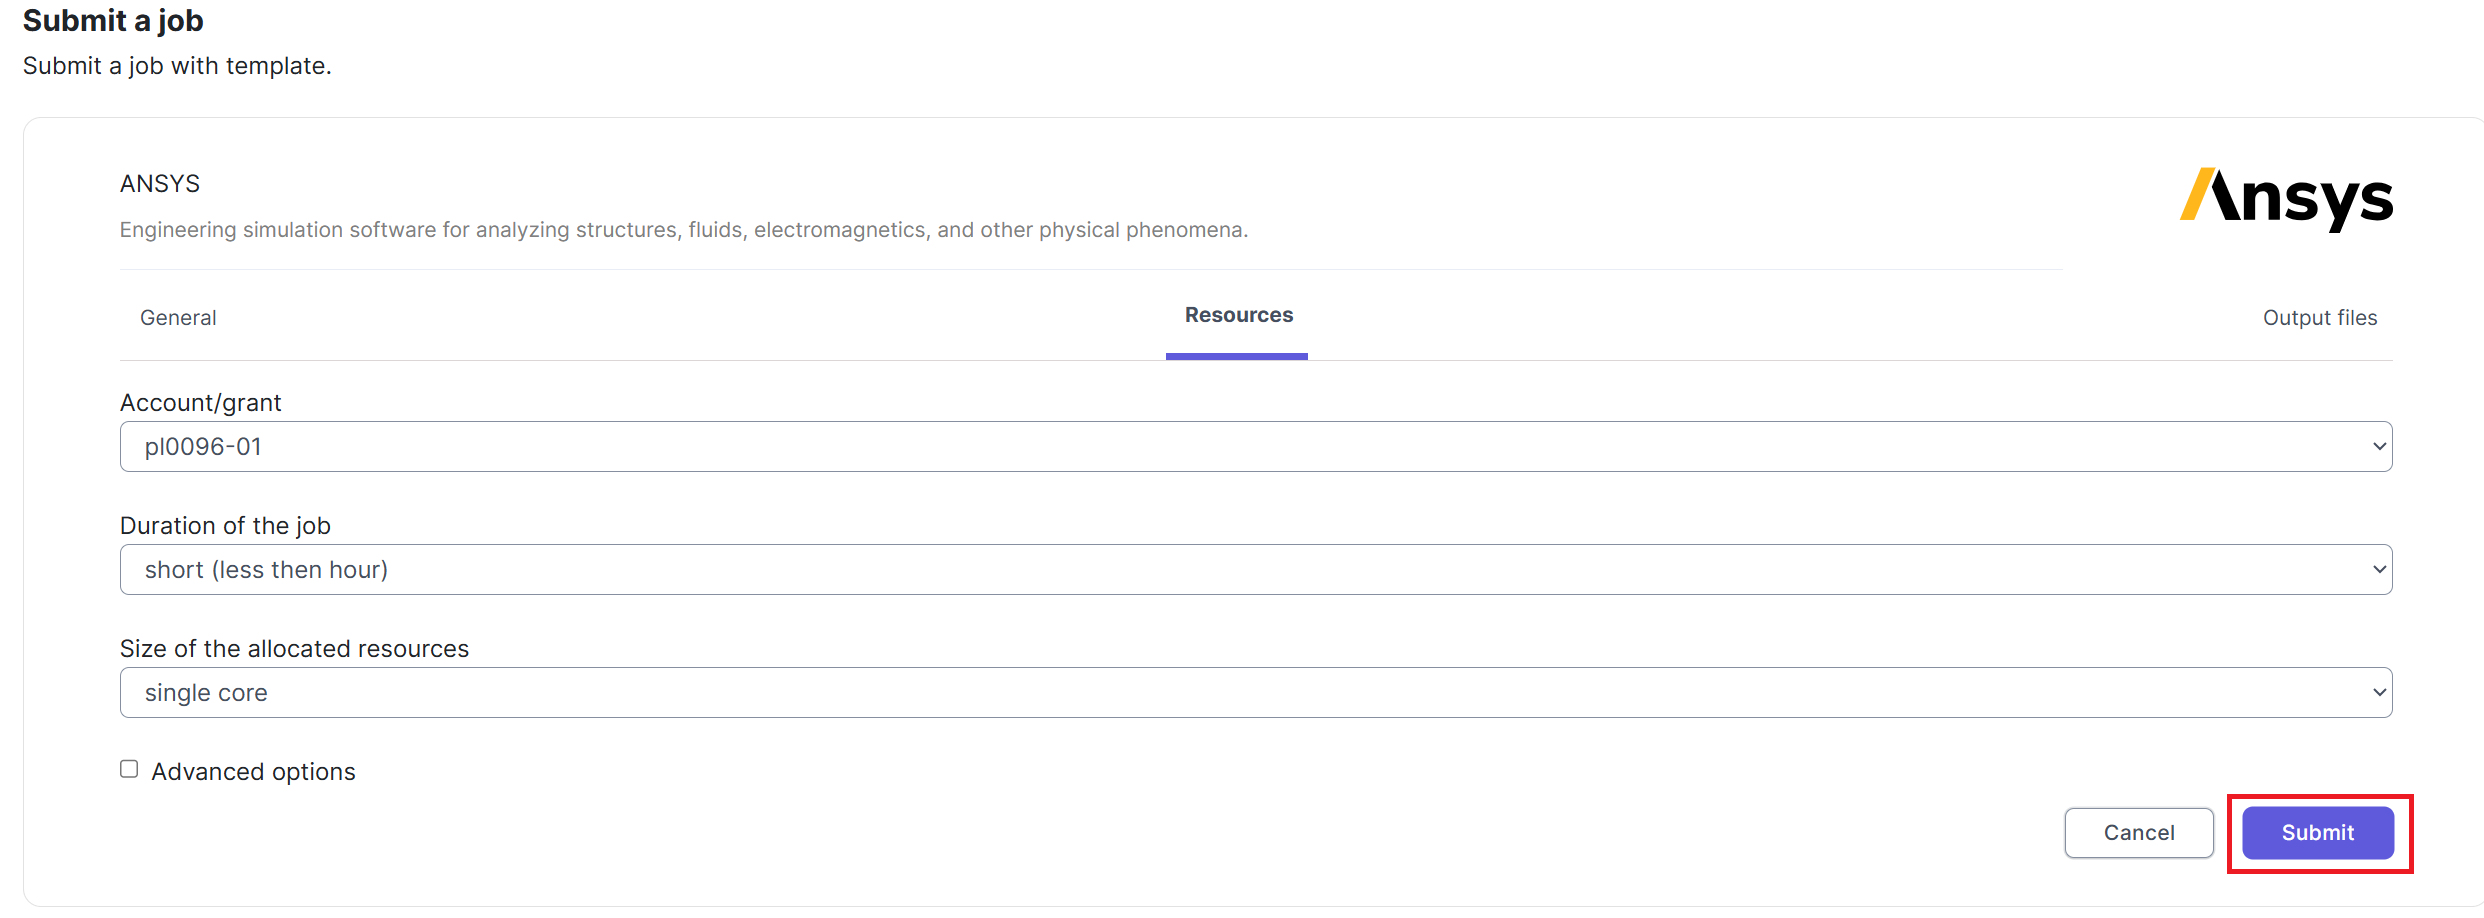
- Choose the appropriate Account/grant for your computations (e.g.,
pl0096-01). - Set the Duration of the job based on your needs, for example,
short (less than hour). - Define the Size of the allocated resources, such as
single core. - Once everything is configured, click the blue Submit button in the bottom right corner.
# Job Submission Confirmation
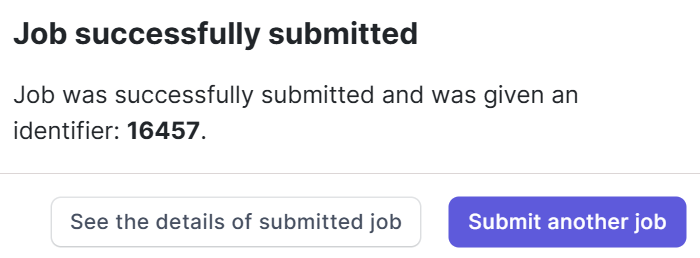
- After a successful submission, a Job successfully submitted message will appear, showing your unique identifier (e.g.,
16457). - Click the See the details of submitted job button to monitor its status.
# Accessing VNC Connection Details
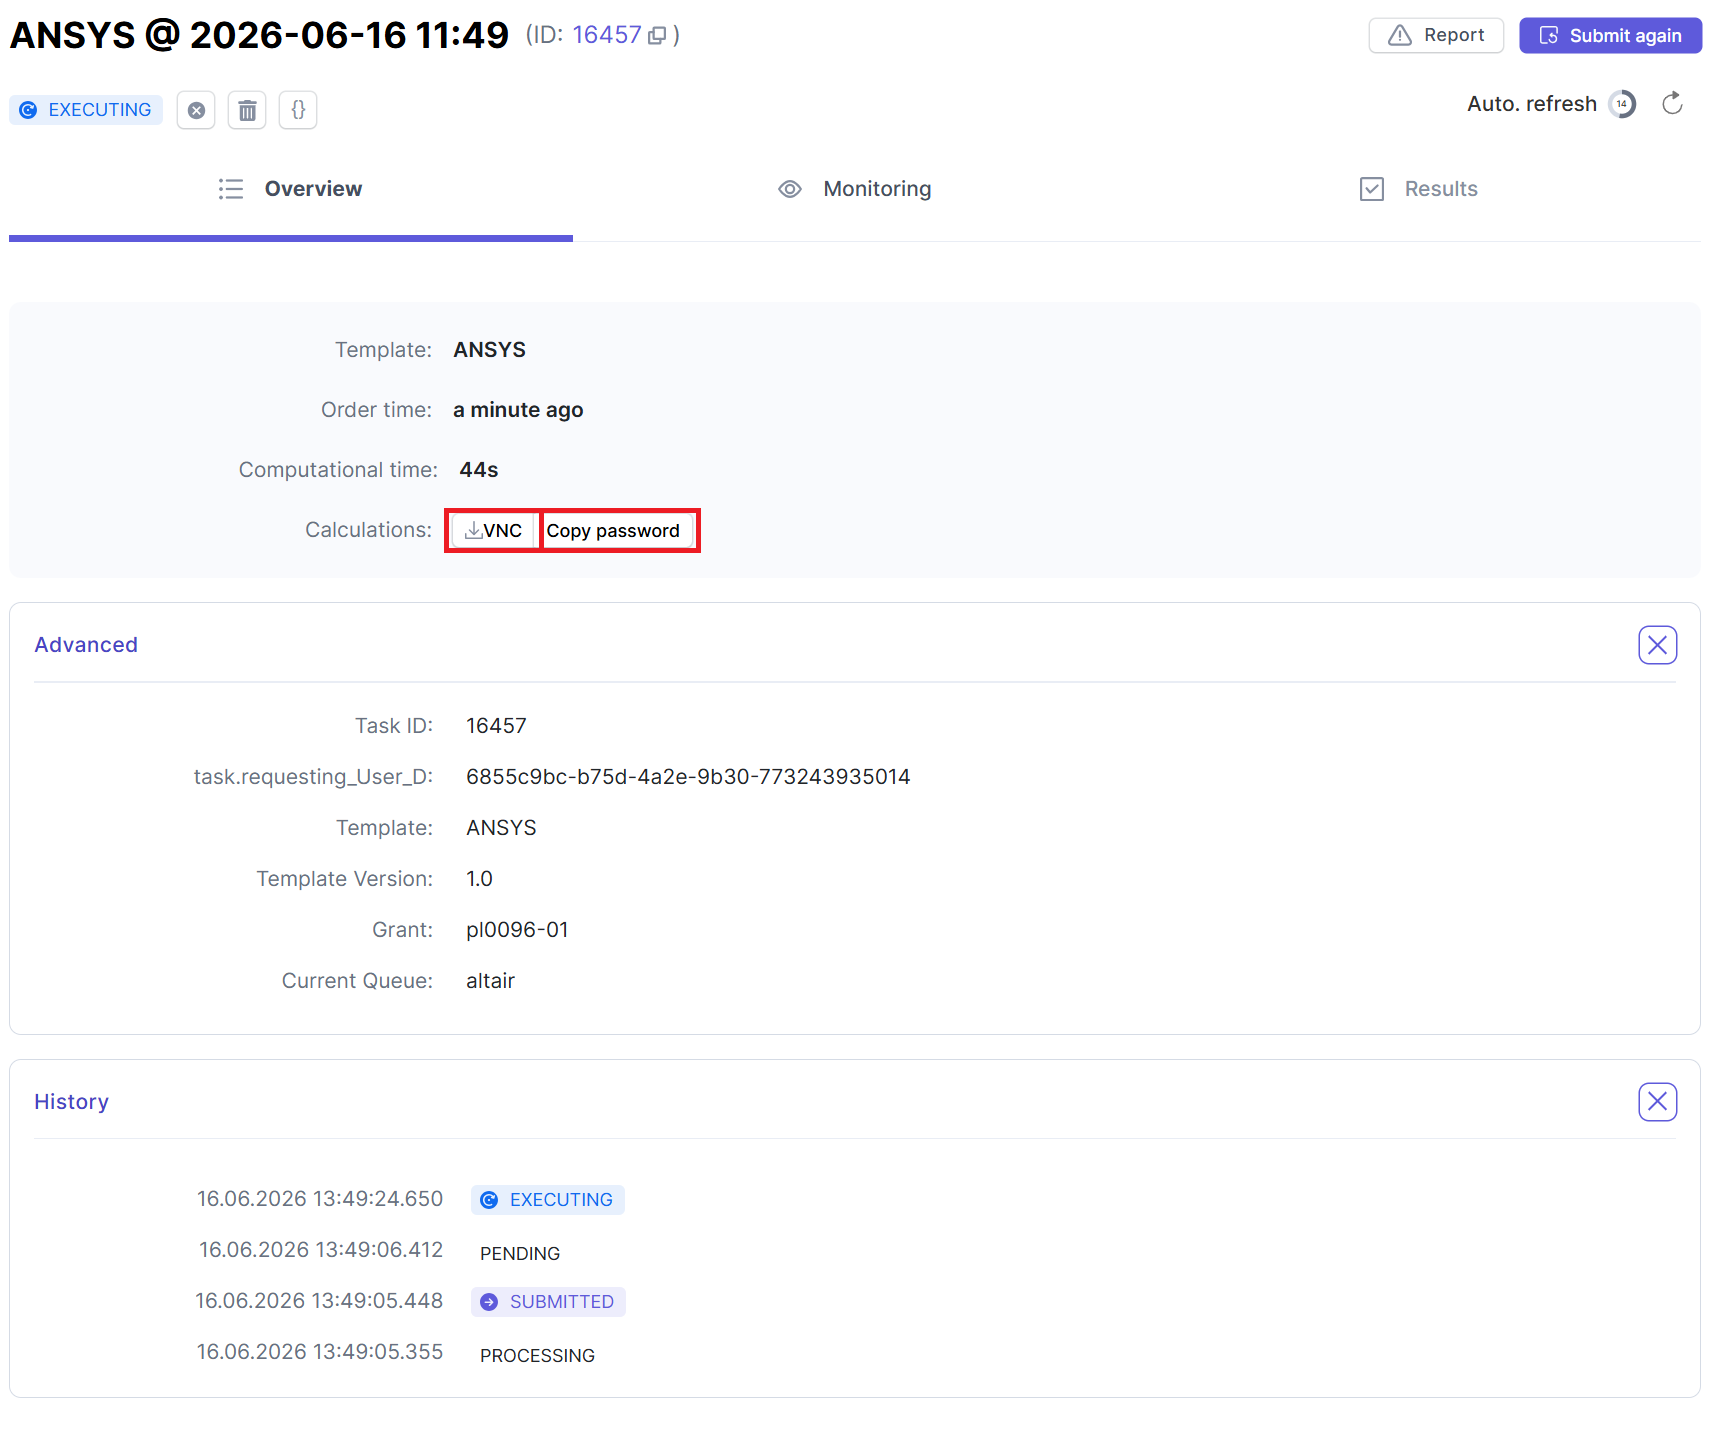
- Wait until the job status changes to EXECUTING.
- In the job details view, under the Calculations section, you will see VNC and Copy password buttons.
- Click Copy password to save the session password to your clipboard, then open the VNC connection.
# Logging into the Remote Desktop
- When the graphical session window opens, you will be prompted for a password. Paste the copied password into the field and click Send Password.

# Working with ANSYS Fluent
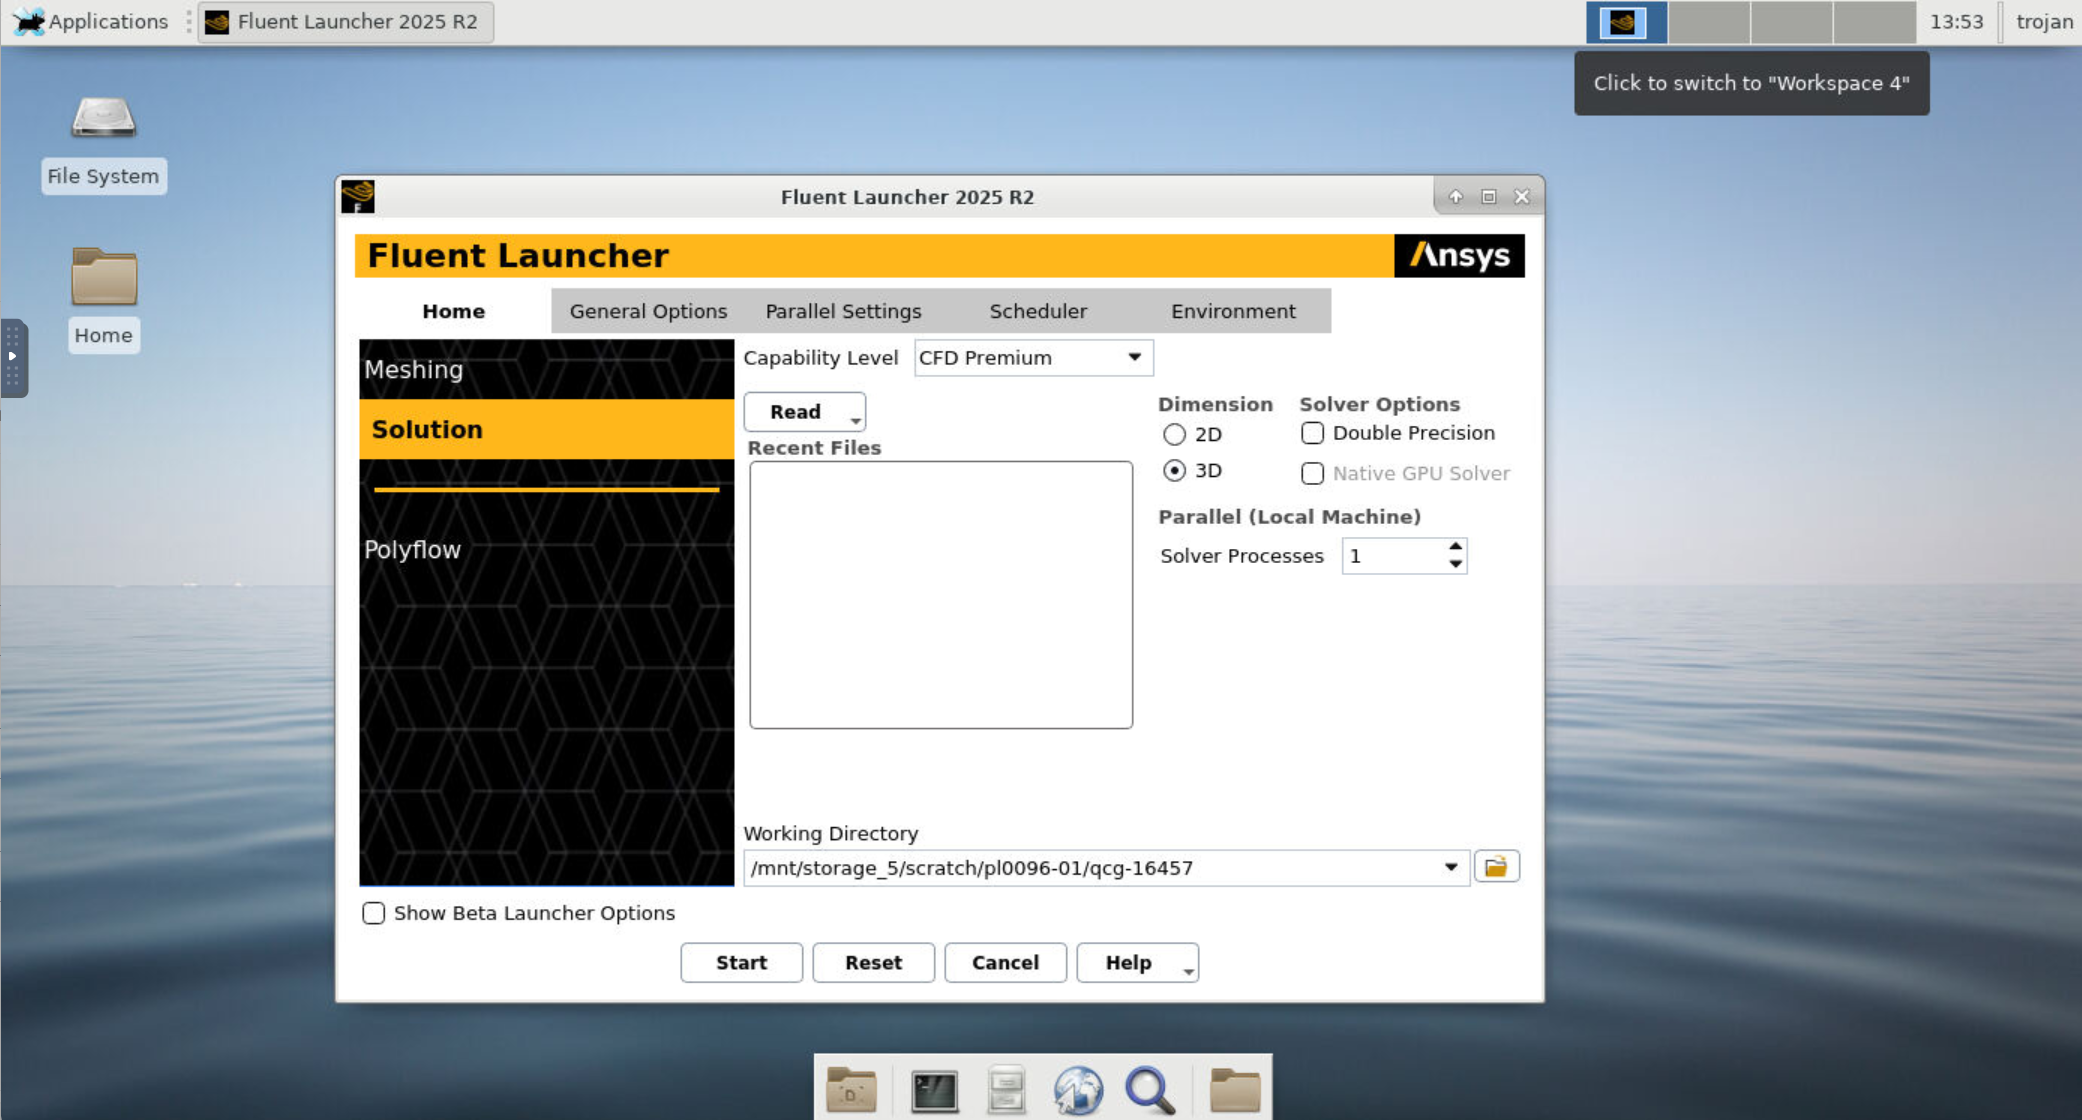
- The Fluent Launcher window will automatically open within your remote desktop session.
- Verify your Working Directory and execution parameters (e.g., 3D dimension, Solver Processes count), then click Start to launch the ANSYS GUI interface.